Articles in this topic
Images
Upload your own photos, crop them or add text, use them in your sections, and remove the ones you no longer need.
6 min read
Good photos make guests hungry. In the Media tab you keep all the photos of your website in one place: you upload them once, and then use them in any section. You can also crop a photo or put text on it, right in the editor.
Your media library
Click the Media tab in the side panel (the picture icon) (1). It shows:
- the upload box (2) — see Upload photos;
- Add from Library (3) — free photos you can use; see Free photos;
- all your photos (4), newest first.
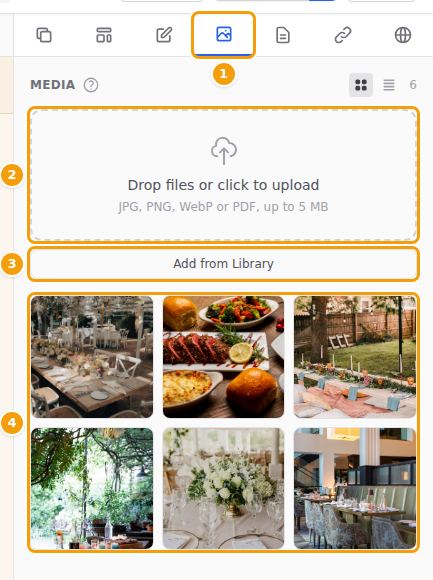
The two small buttons at the top right switch between large pictures and a list with names and sizes. The number next to them tells you how many photos you have.
Upload photos
- Click the Media tab.
- Click the box Drop files or click to upload and choose one or more photos on your computer. Or drag the photos from a folder straight onto the box.
- A blue bar shows the progress. When it is done, your photos appear at the top of the list.
You can upload JPG, PNG and WebP photos (and PDF files), up to 5 MB each. A bigger file is refused with the message File "…" exceeds 5MB limit. — make it smaller first, for example by sending it to yourself by email at a "medium" size, or with a free online image compressor.
Tip
Photos from a modern phone work fine. Take them in landscape (sideways) for large pictures at the top of a page, and in daylight whenever you can.
Good to know
Only upload photos you took yourself or have permission to use. Photos of guests need their consent.
Free photos
Don't have a good photo yet? Clava comes with a library of free, professional photos that you may use on your website.
- In the Media tab, click Add from Library.
- Click a category to narrow down the choice, and click a photo you like.
- A copy is added to your photos. Use it like any photo you uploaded yourself.
Click Hide Library to close the library again.
Use a photo in a section
Most sections have a place for a photo, such as Section Image in an About section or Hero Background Image in a Hero section.
-
Open the section: in the Sections tab, click it. See Edit a section.
-
Under the photo field, click Select Image.
-
Choose My Images for your own photos, or Library for the free photos (1). Click a photo (2).
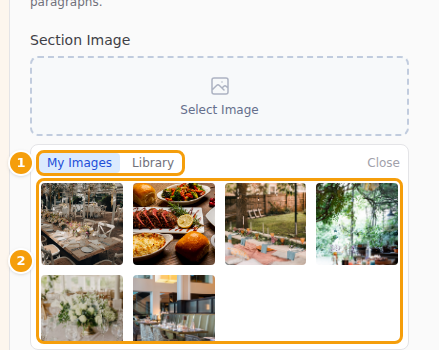
My Images or Library (1), then click a photo (2) -
The photo now shows in the section. Change (1) picks another one; Remove (2) takes it out of the section (the photo stays in your media library).
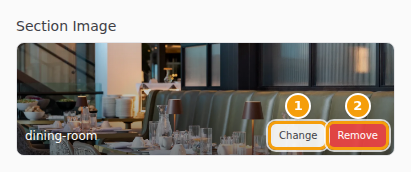
The chosen photo, with Change (1) and Remove (2)
Tip
Don't see the photo in the preview? Some layouts of a section have no photo. Click Change Template at the top of the section and choose a layout with a picture — this changes only that section, not your whole website. See Choose a layout.
Photos in a gallery
A Gallery section shows several photos together.
-
Open the Gallery section in the Editor tab.
-
Under Available Images, click the photos you want to show (1). A blue check mark shows which ones are chosen; click again to take a photo out. Select all chooses them all at once.
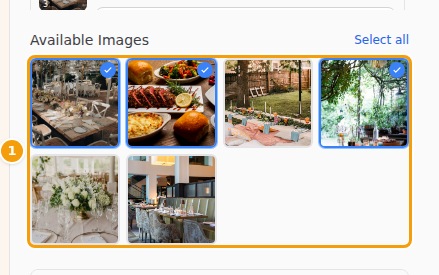
Click photos under Available Images to add them to the gallery (1) -
Your choice appears under Selected Images (1), numbered in the order guests see them. Drag a photo to another place to change the order. Clear all empties the gallery.
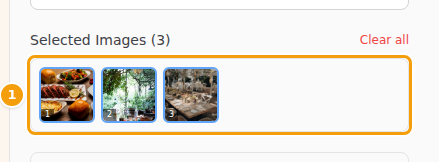
Selected Images, in the order guests see them (1)
Good to know
Choose the photos for the section here. Without a choice, the Gallery section can only show a gallery that was set up for your location in an older version of Clava — if there is none, the section stays empty.
Captions and photo descriptions
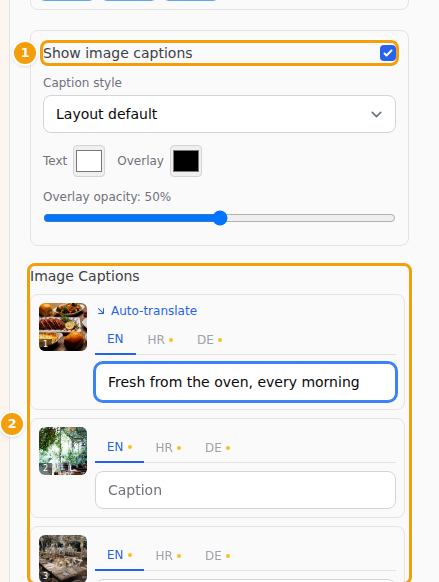
A caption is a short text with a photo, for example Fresh from the oven, every morning. In a Gallery section:
- Tick Show image captions (1). Under Caption style you choose where the caption appears: as a bar on the photo, below it, or only when a guest points at the photo.
- Under Image Captions (2), type a caption for each photo, in each language.
The caption is also used as the description of the photo for guests who use a screen reader, and it helps search engines understand your photos.
Crop a photo
Crop a photo to cut away the edges, or to give it the right shape for its place on the page.
-
In the Media tab, point at a photo. Three buttons appear: Crop (1), Add Text (2) and Delete (3).
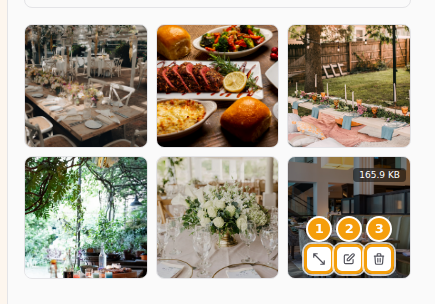
Crop (1), Add Text (2) and Delete (3) appear when you point at a photo -
Click Crop. The Crop Image window opens.
-
Choose a shape (1): Hero Banner (wide, for the big picture at the top of a page), Gallery, Square, Logo, or Free for any shape.
-
Drag the frame (2) to the part of the photo you want to keep, and drag its corners to make it bigger or smaller.
-
Click Save Crop (3).
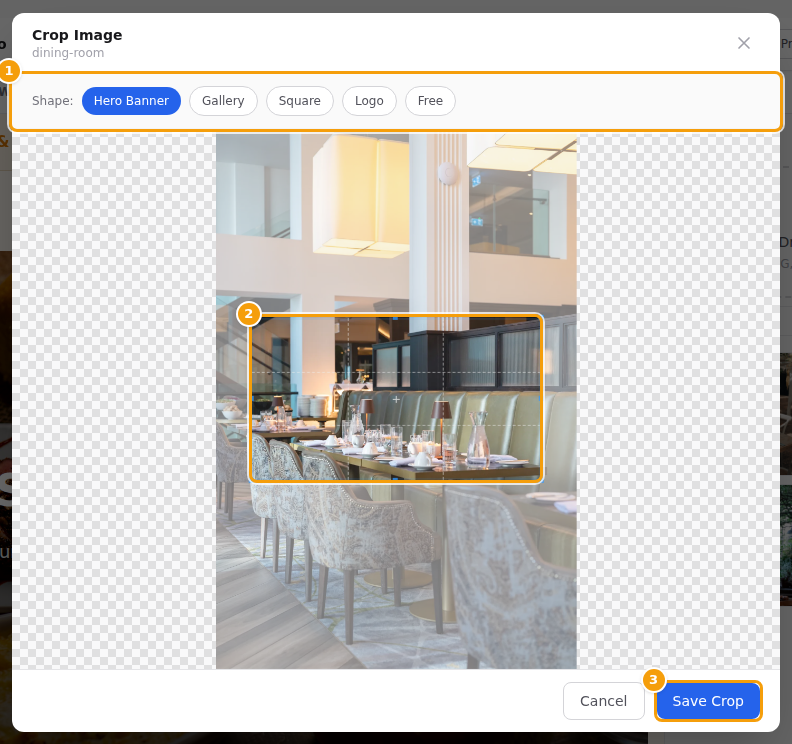
The shape (1), the frame (2) and Save Crop (3) -
The cropped photo is added as a new photo, with -cropped after its name (the list view shows the names). Your original photo stays as it was.
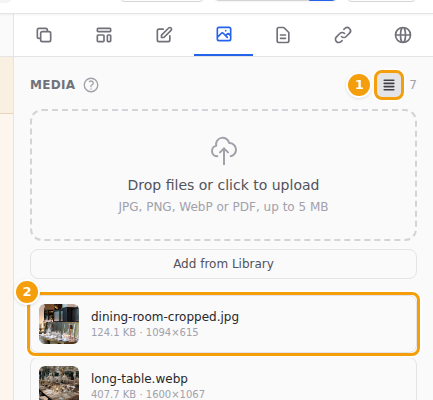
The list view (1) and the new cropped copy at the top (2)
Put text on a photo
Great for a special offer or an event announcement.
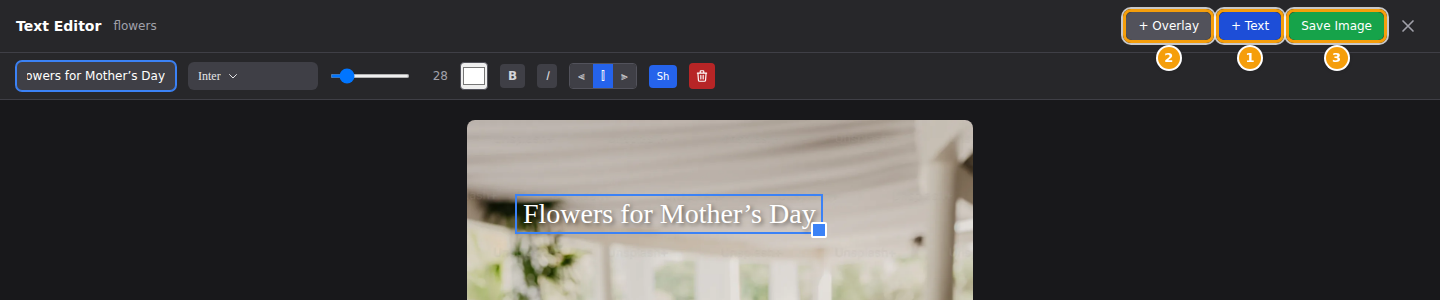
- In the Media tab, point at a photo and click Add Text. The Text Editor opens.
- Click + Text (1) and type your text in the box at the top left. Choose the font, size and colour in the toolbar, and drag the text to the right place on the photo.
- Want a coloured box behind the text? Click + Overlay (2).
- Click Save Image (3). The photo with the text is added as a new photo; the original stays as it was.
Delete a photo
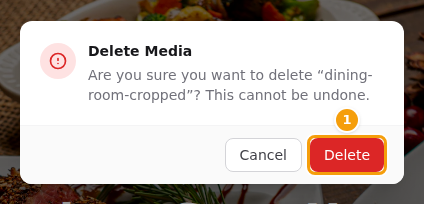
- In the Media tab, point at the photo and click the bin (Delete).
- The editor asks Delete Media. Click Delete (1) to confirm.
Careful
Deleting a photo cannot be undone. The photo is removed from your media library for good.
"This image is used on your website"
You can't delete a photo that your website still shows. If you try, the editor says This image is used on your website. Remove it from the pages that show it (and publish), then delete it. (1) Click Why can't I delete this photo? (2) under the message to open this help.
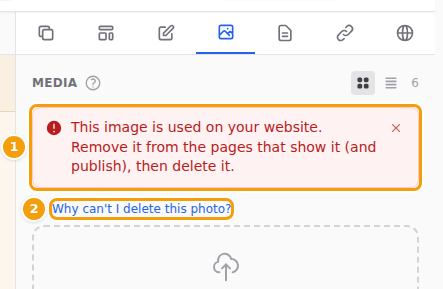
This protects your website from empty spaces where a photo used to be. To delete the photo anyway:
- Find the sections that show the photo — for example a Hero, About or Gallery section — and click Remove or Change on the photo there. Also check the Background Image in the Site tab.
- Is the photo on your live website too? Then click Publish, so the live website no longer shows it either.
- Go back to the Media tab and delete the photo.
Good to know
Older versions in your version history don't block deleting a photo. If you later put such an old version back online, that photo will be missing from it.