Articles in this topic
Branding and colours
Add your logo, choose your colours and your font, and give your booking page and your website the same look.
7 min read
Your logo, your colours and your font make your venue recognisable. You set them once in the Branding & Design tab, and your guests see them on your booking page and on your website — and Clava keeps the colours of the two in step.
Where your guests see your branding
| What you set | Where your guests see it |
|---|---|
| Venue Logo | In the menu bar and in the top area of your website, at the top of your standard booking page, and on your voucher PDFs. |
| Colours (the fields from Primary Color to Form Border Color) and Font Family | On your standard booking page, in the booking form on another website (the booking widget), and on your website. Your website gets them through a copy that you may need to publish — see Save and publish. |
| Custom CSS Styles | On your standard booking page, in the booking widget and on your website pages. |
Add your logo
- In Venue Setup, click Configure on your venue, then click Branding & Design. The tab needs a few seconds to show your logo.
- Under Venue Logo (1), drag your logo onto the box or click Browse and choose the file: an SVG, PNG, JPG or WebP file of up to 2 MB. An SVG stays sharp on every screen; a PNG or WebP with a transparent background works well too.
- Changed your mind? Click the small × on the logo to remove it.
- Click Save Branding — see Save and publish. Your logo is not stored before that.
Good to know
The upload box shows your logo on a dark background, so a dark logo can be hard to see in the box. That dark box is only part of this screen — guests don't see it.
Good to know
The background of your website is not set on this tab. To change it, use the website editor: see Background.
Your logo also appears on your website in place of the site name. Guests see a new logo as soon as you save — see Your logo.
Start from a ready-made look
The quickest way to nice colours is a preset: a ready-made set of colours and a matching font.
-
Click Choose Preset (1) at the top right of the tab.
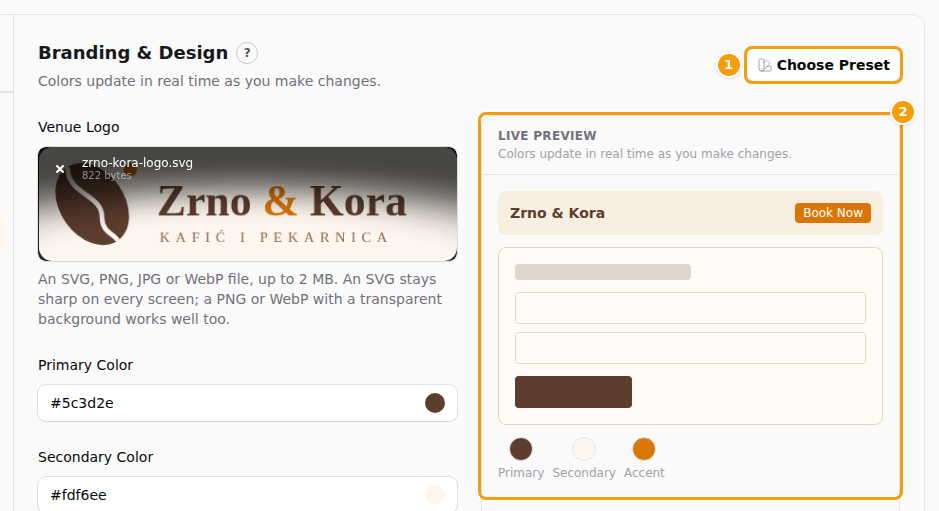
Choose Preset (1) and the Live Preview (2) -
The panel Design Presets slides in from the right (1). It has 36 looks in groups — Elegant, Modern, Warm, Cool, Bold, Natural and Dark. Each card (2) shows six colour dots, the name of the look and the name of its font. The names of the looks and the fonts are always in English.
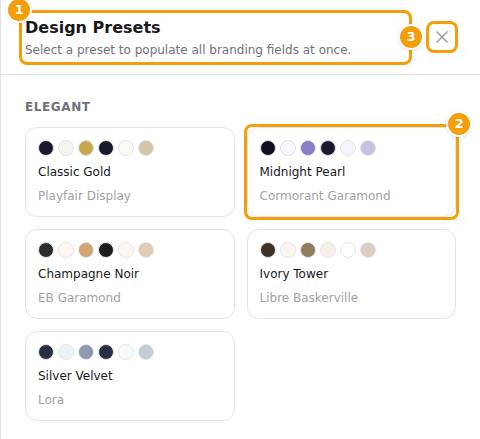
The Design Presets panel: the title (1), one look (2) and the close button (3) -
Click a card. The panel closes and the colour fields, Header Transparency and Font Family are filled in for you. Your logo stays as it is. To close the panel without choosing a look, click the × at its top right (3).
-
Look at the filled-in fields. The Live Preview does not change by itself — see Choose each colour yourself. You can still change any colour yourself, as described there.
-
Click Save Branding when you are happy.
Important
A preset is only a suggestion until you click Save Branding. It replaces the colours and the font in the form, not the ones you saved before. If you don't like it, reload the page without saving and your saved look is back.
Choose each colour yourself
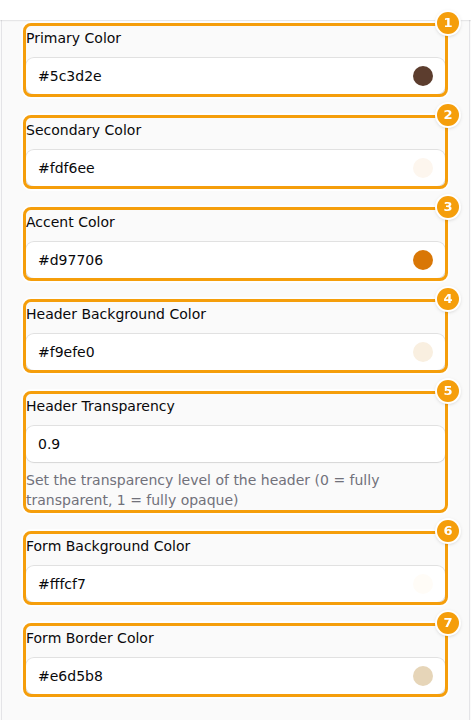
Under the logo you find six colour fields and one number field, Header Transparency. To change a colour, click
the round colour spot at the end of the field and pick a colour — or type a colour code if you know it, for example
#d97706.
| Field | What it colours | |
|---|---|---|
| (1) | Primary Color | Buttons and small highlights in many sections of your website, such as icons and badges. |
| (2) | Secondary Color | The background of your website pages. It is also the colour of text on top of buttons in your accent colour. |
| (3) | Accent Color | Headings, menu and links, the calendar and the highlighted buttons of the booking form. |
| (4) | Header Background Color | The bar at the top of the page, with your menu. |
| (5) | Header Transparency | How see-through that bar is: a number from 0 (fully transparent) to 1 (fully solid), for example 0.9. |
| (6) | Form Background Color | The background of the booking form. |
| (7) | Form Border Color | The lines around the booking form and its fields. |
Good to know
The website editor lists the first three colours under other names: Primary (Text), Secondary (Background) and Accent (Highlights). Those names are only rough hints. What each colour really paints is what the table above says.
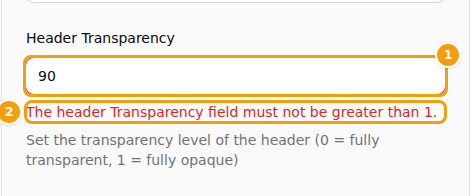
Header Transparency is a number between 0 and 1, not a percentage. For a bar that is 90 % solid, type 0.9, not
90. If you type 90 and click Save Branding, a red note appears under the field and tells you that the number
must not be greater than 1. Nothing is saved until you correct it.
Good to know
Write the number with a decimal point, like 0.9 — not with a comma. In some browsers a comma is lost, and
0,9 turns into 09, which is refused as well.
On the right of the tab, Live Preview shows a small sample of a header and a form. Despite its name and the line under it, it does not follow your changes: it shows the colours the tab had when you opened it. To refresh it, open another tab and come back. The colour fields are what counts — and how your standard booking page looks after you save.
Tip
Keep enough contrast. Dark text on a light background, or the other way round, is easiest to read — also on a phone in the sun. Two or three colours are plenty.
Choose a font
- Scroll to Font Family (1). It offers a list of 55 popular fonts.
- Click the field and start typing a name, for example Lora, or scroll through the list. Click the font you want.
- Click Save Branding.
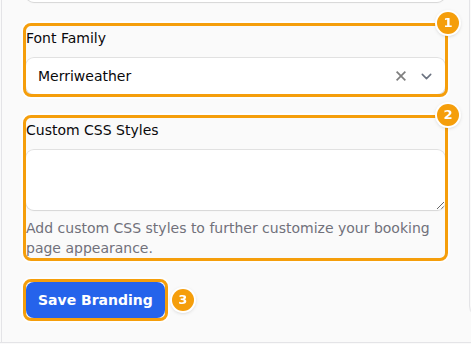
The font is used for all texts of your booking page and your website. Guests' browsers load the font from Google Fonts. A preset brings its own font, so choose your font after you have chosen a preset.
Extra styling with CSS (for experts)
The box Custom CSS Styles (2) is for a web designer who wants to fine-tune the look with CSS code. Whatever you type here is added to your booking page, your booking widget and your website pages.
Careful
Clava does not check this code and does not show a preview. A mistake can break the layout of your page for your guests. Keep a copy of what you paste in. To undo it, empty the box and click Save Branding.
If you don't know CSS, leave the box empty.
Save and publish your colours
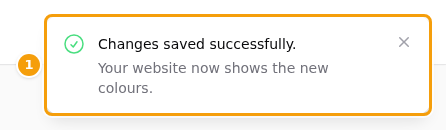
- Click Save Branding below the form. A green message says Changes saved successfully.
- Look at what the message says — your colours are now copied to your website too, and what happens next depends on your website:
| What you see | What it means |
|---|---|
| Only Changes saved successfully. | You have no website yet, or the colours are the same as before. Nothing more to do. |
| Changes saved successfully. and Your website now shows the new colours. | Your website had no other unpublished changes, so Clava put the new colours online for you. In the version history you find it as Branding update. |
| Changes saved successfully. and, in yellow, Open Website Builder and click Publish to apply the new colours to your website. | The new colours are in your website's draft, but guests don't see them on your website yet. Click Open Website Builder, check the result and click Publish. |
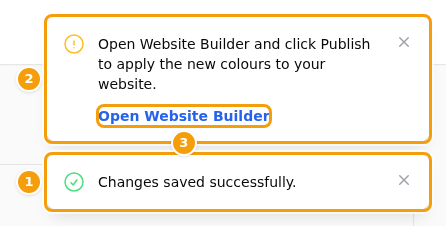
The yellow reminder appears when your draft has other changes that aren't published yet, when your website has never been published, or when it is hidden. Clava never publishes your other changes behind your back. A hidden website stays hidden until you put it back online — see Put your website back online.
Your standard booking page and the booking widget use the new colours at once, whatever the message says. Only your website waits for publishing. See Publish your changes and Version history.
Important
The colours and the font are copied in both directions. When you publish your website, its colours and its font are copied to this tab as well, so the last change you make anywhere wins. Choose one place to design your colours and your font — the Site tab of the website editor if you have a website, otherwise this tab — and use this tab for your logo. See Your booking form follows your website.